DO IT YOURSELF TURF INSTALLATION
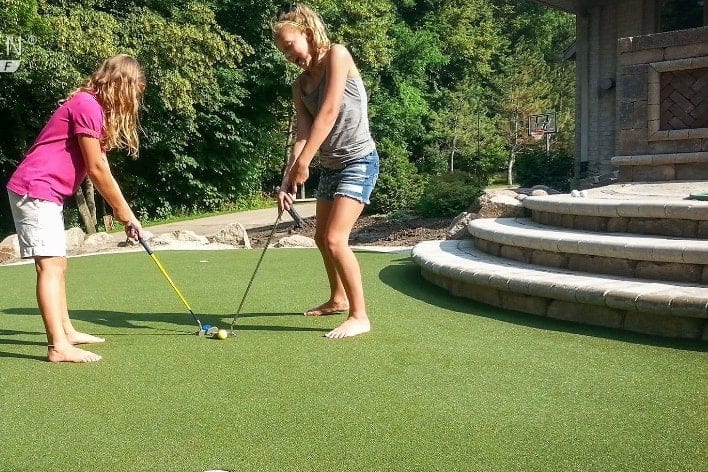
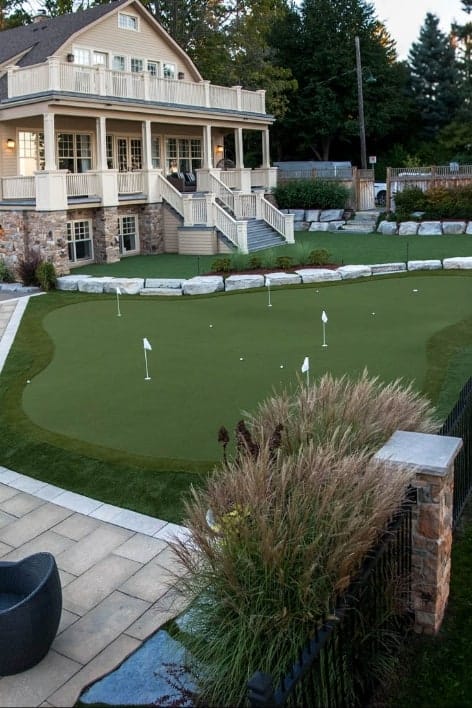
Backyard Putting Greens
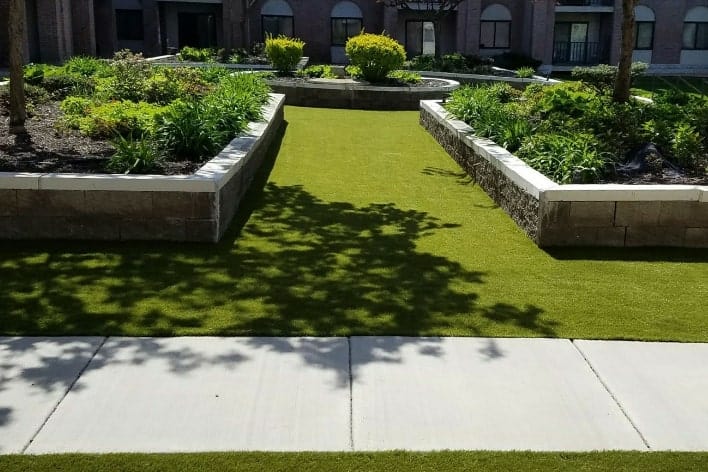
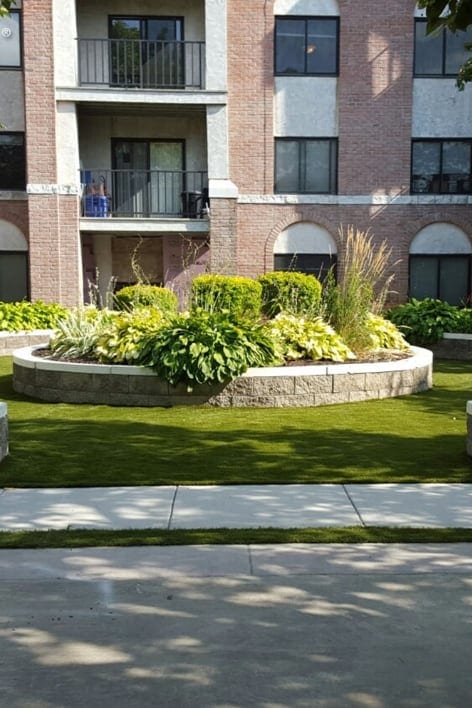
How to Install Artificial Turf It's normal not to need to employ an expert to construct an artificial lawn. It's amazing to complete something by yourself. We're here to assist you at each stage of your journey, and we're confident in you! Follow our step-by-step guide on putting in artificial grass yourself to achieve a flawless finish without the cost. How to Install Artificial Grass on Dirt/Soil Surfaces: Pre-Process Steps
How to Install Artificial Turf It's normal not to need to employ an expert to construct an artificial lawn. It's amazing to complete something by yourself. We're here to assist you at each stage of your journey, and we're confident in you! Follow our step-by-step guide on putting in artificial grass yourself to achieve a flawless finish without the cost. How to Install Artificial Grass on Dirt/Soil Surfaces: Pre-Process Steps